
Seller Users & Roles
A seller doesn't have to run their store alone. Under Settings, a seller can invite team members and control what each one can do through roles — so staff get exactly the access they need in the Seller Panel, and nothing more.
What you'll learn
- How roles define permissions
- How to add and manage team members
- The account-level settings a seller controls
Roles
Open Settings → Roles. A role is a named set of permissions. When you create one, you give it a name and description and choose a Permission Type:
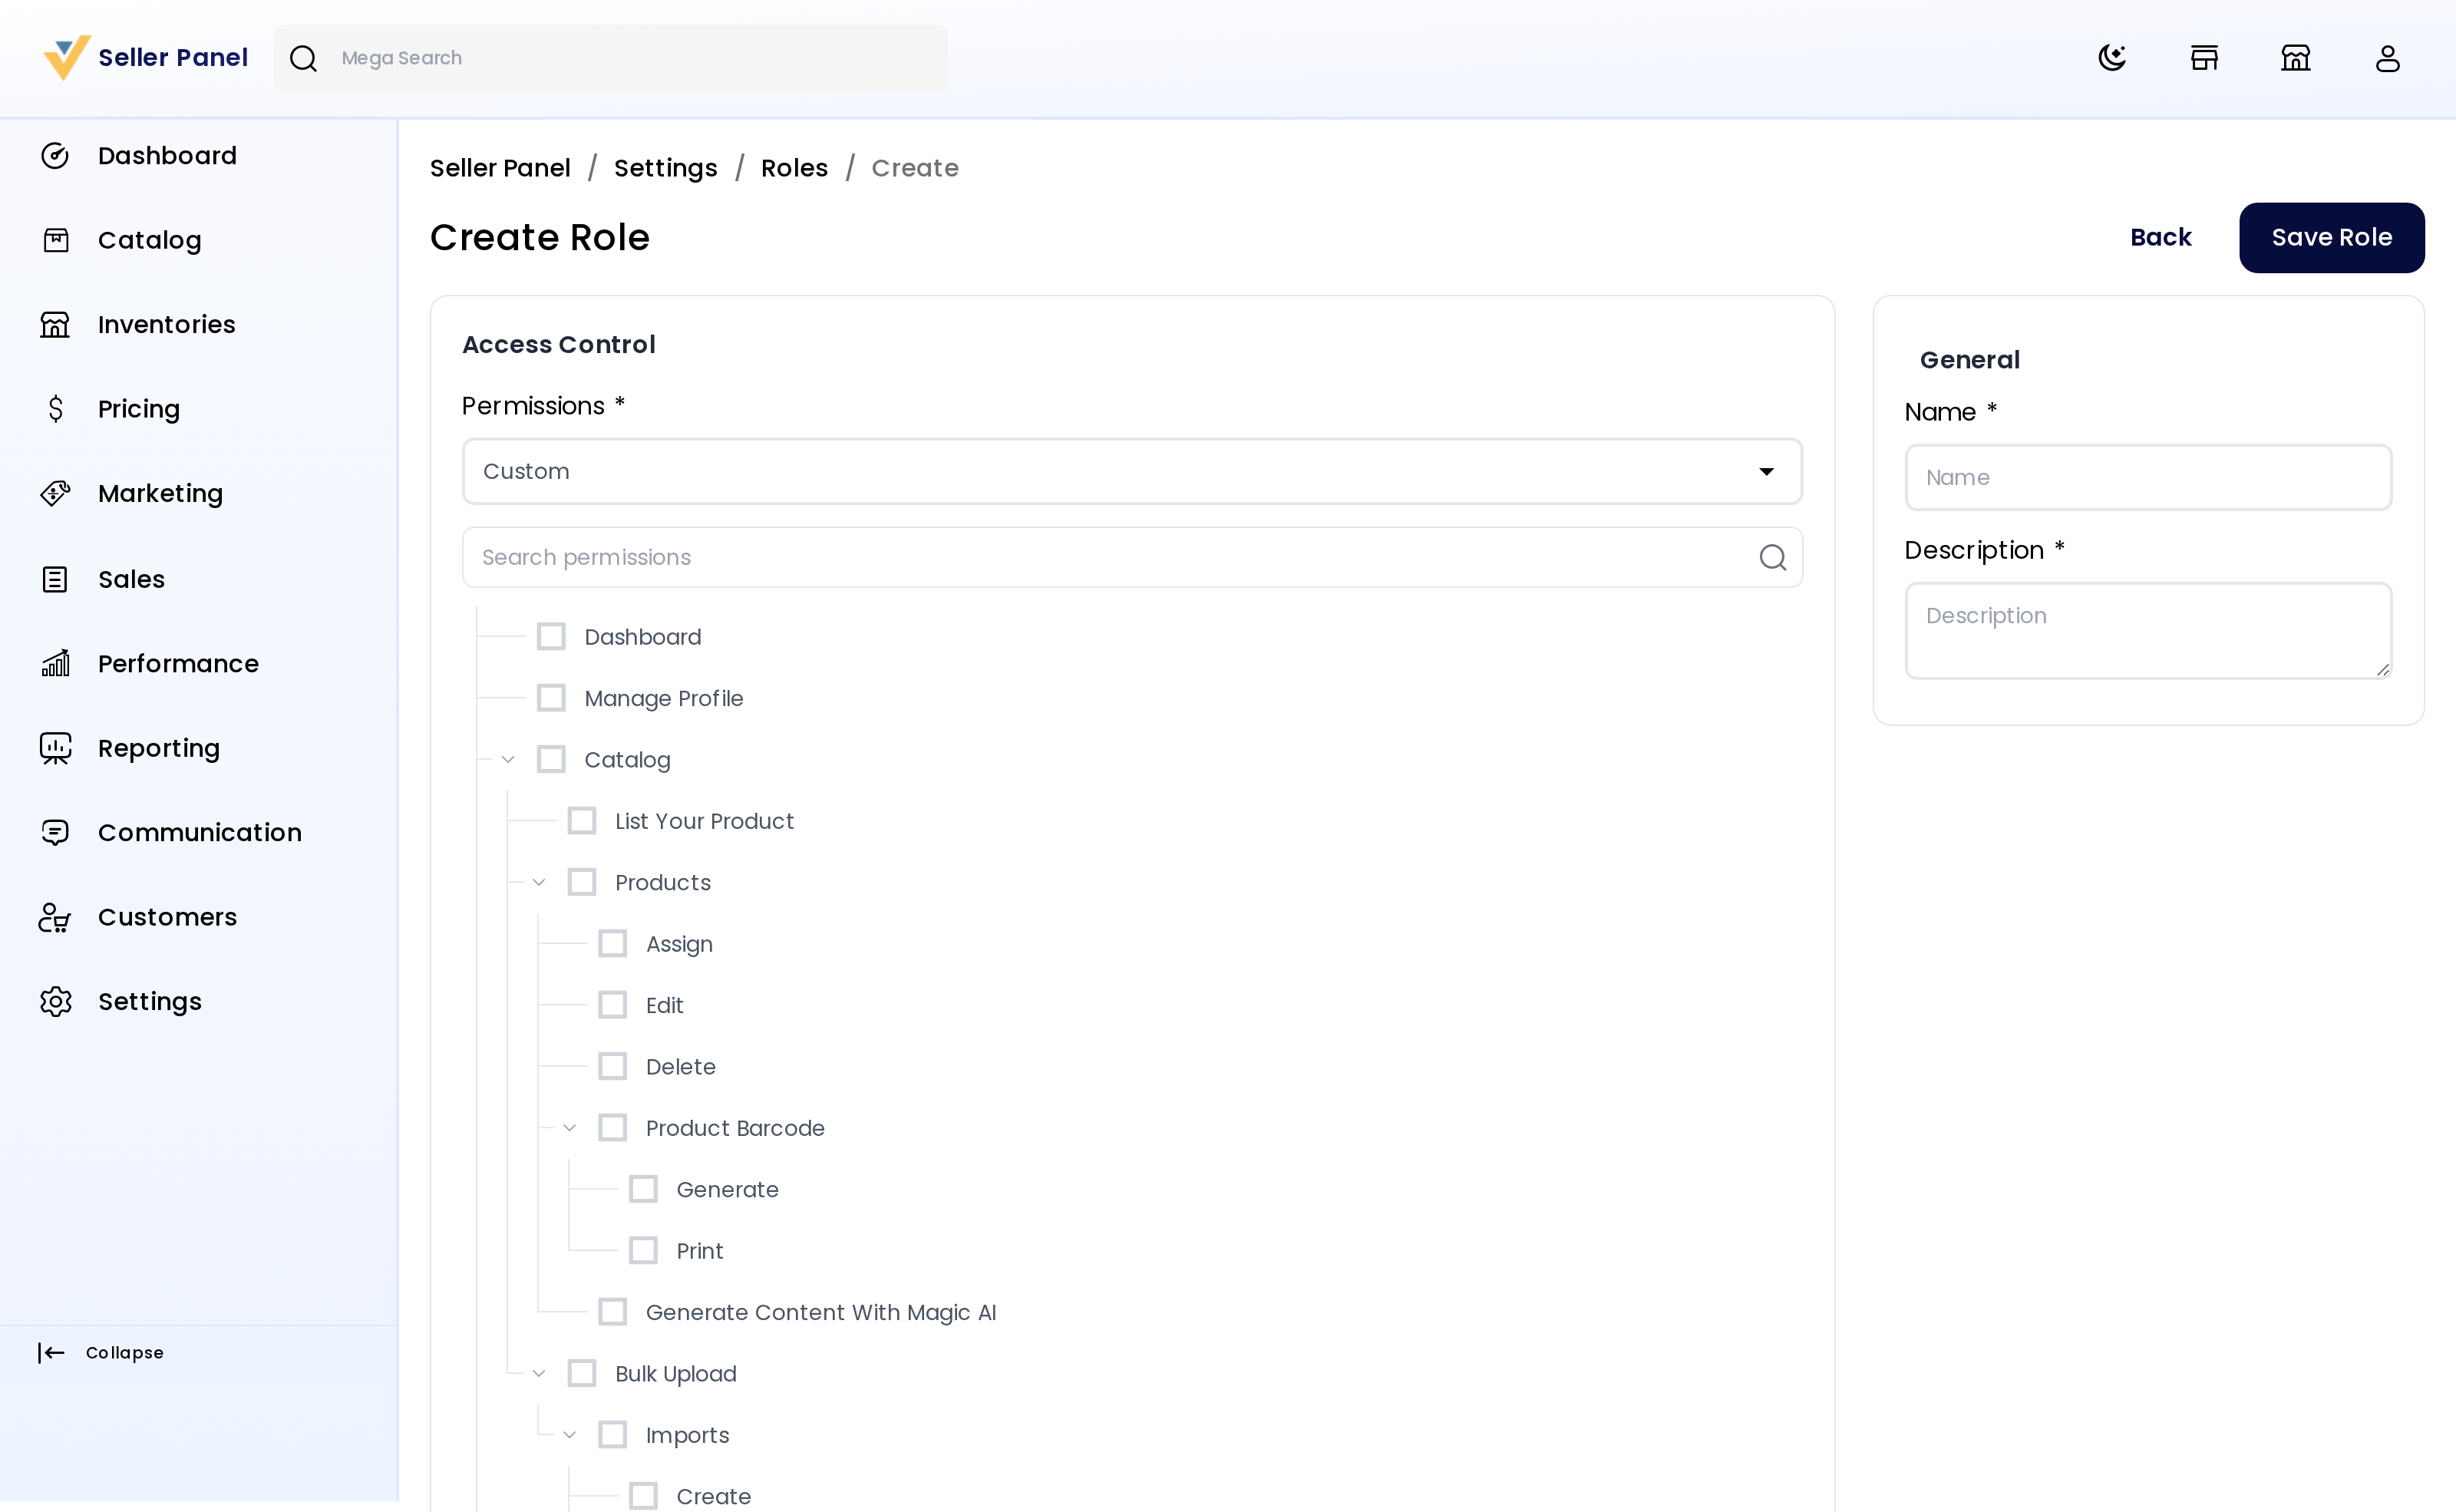
- All — full access to everything in the Seller Panel.
- Custom — pick exactly which areas the role can use from a permission tree covering Catalog, Inventories, Pricing, Marketing, Sales, Performance, Reporting, Communication, Customers, and Settings (each with granular sub-permissions like Orders → Invoice or Products → Delete).
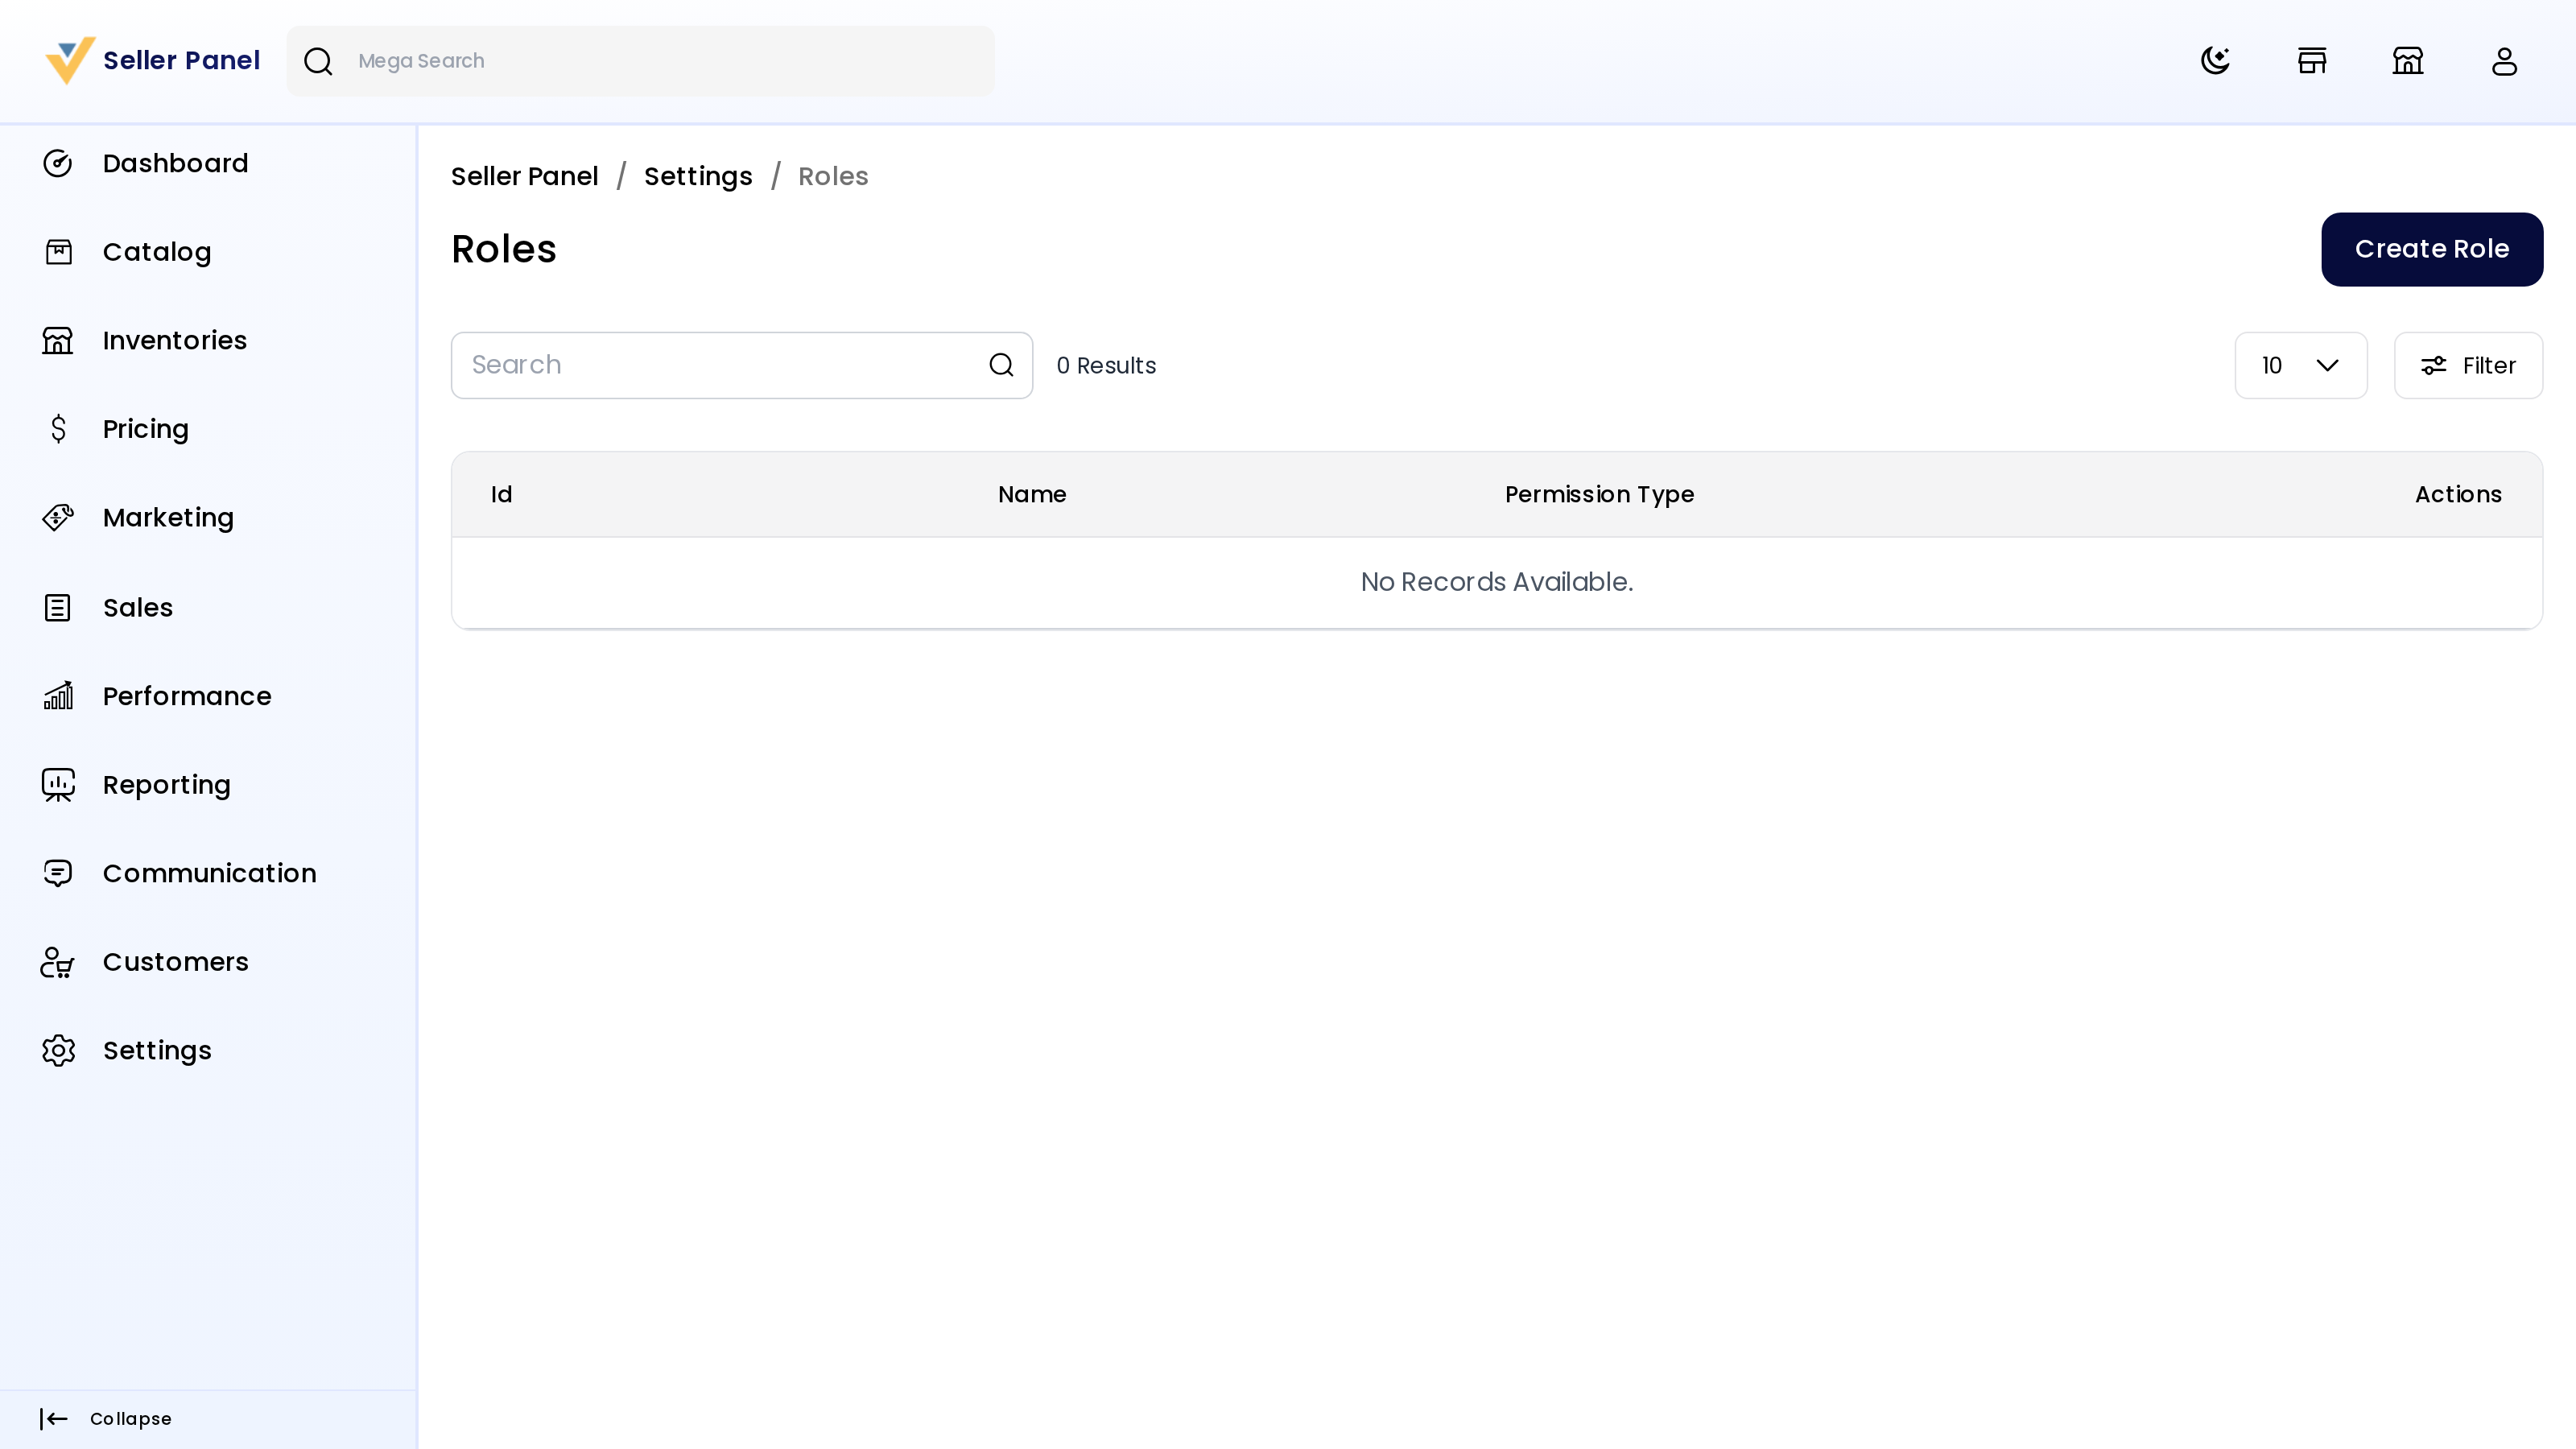
You can't switch the last remaining All-access role to Custom, or delete a role that's in use or your only role — so a seller can never lock themselves out.
Users
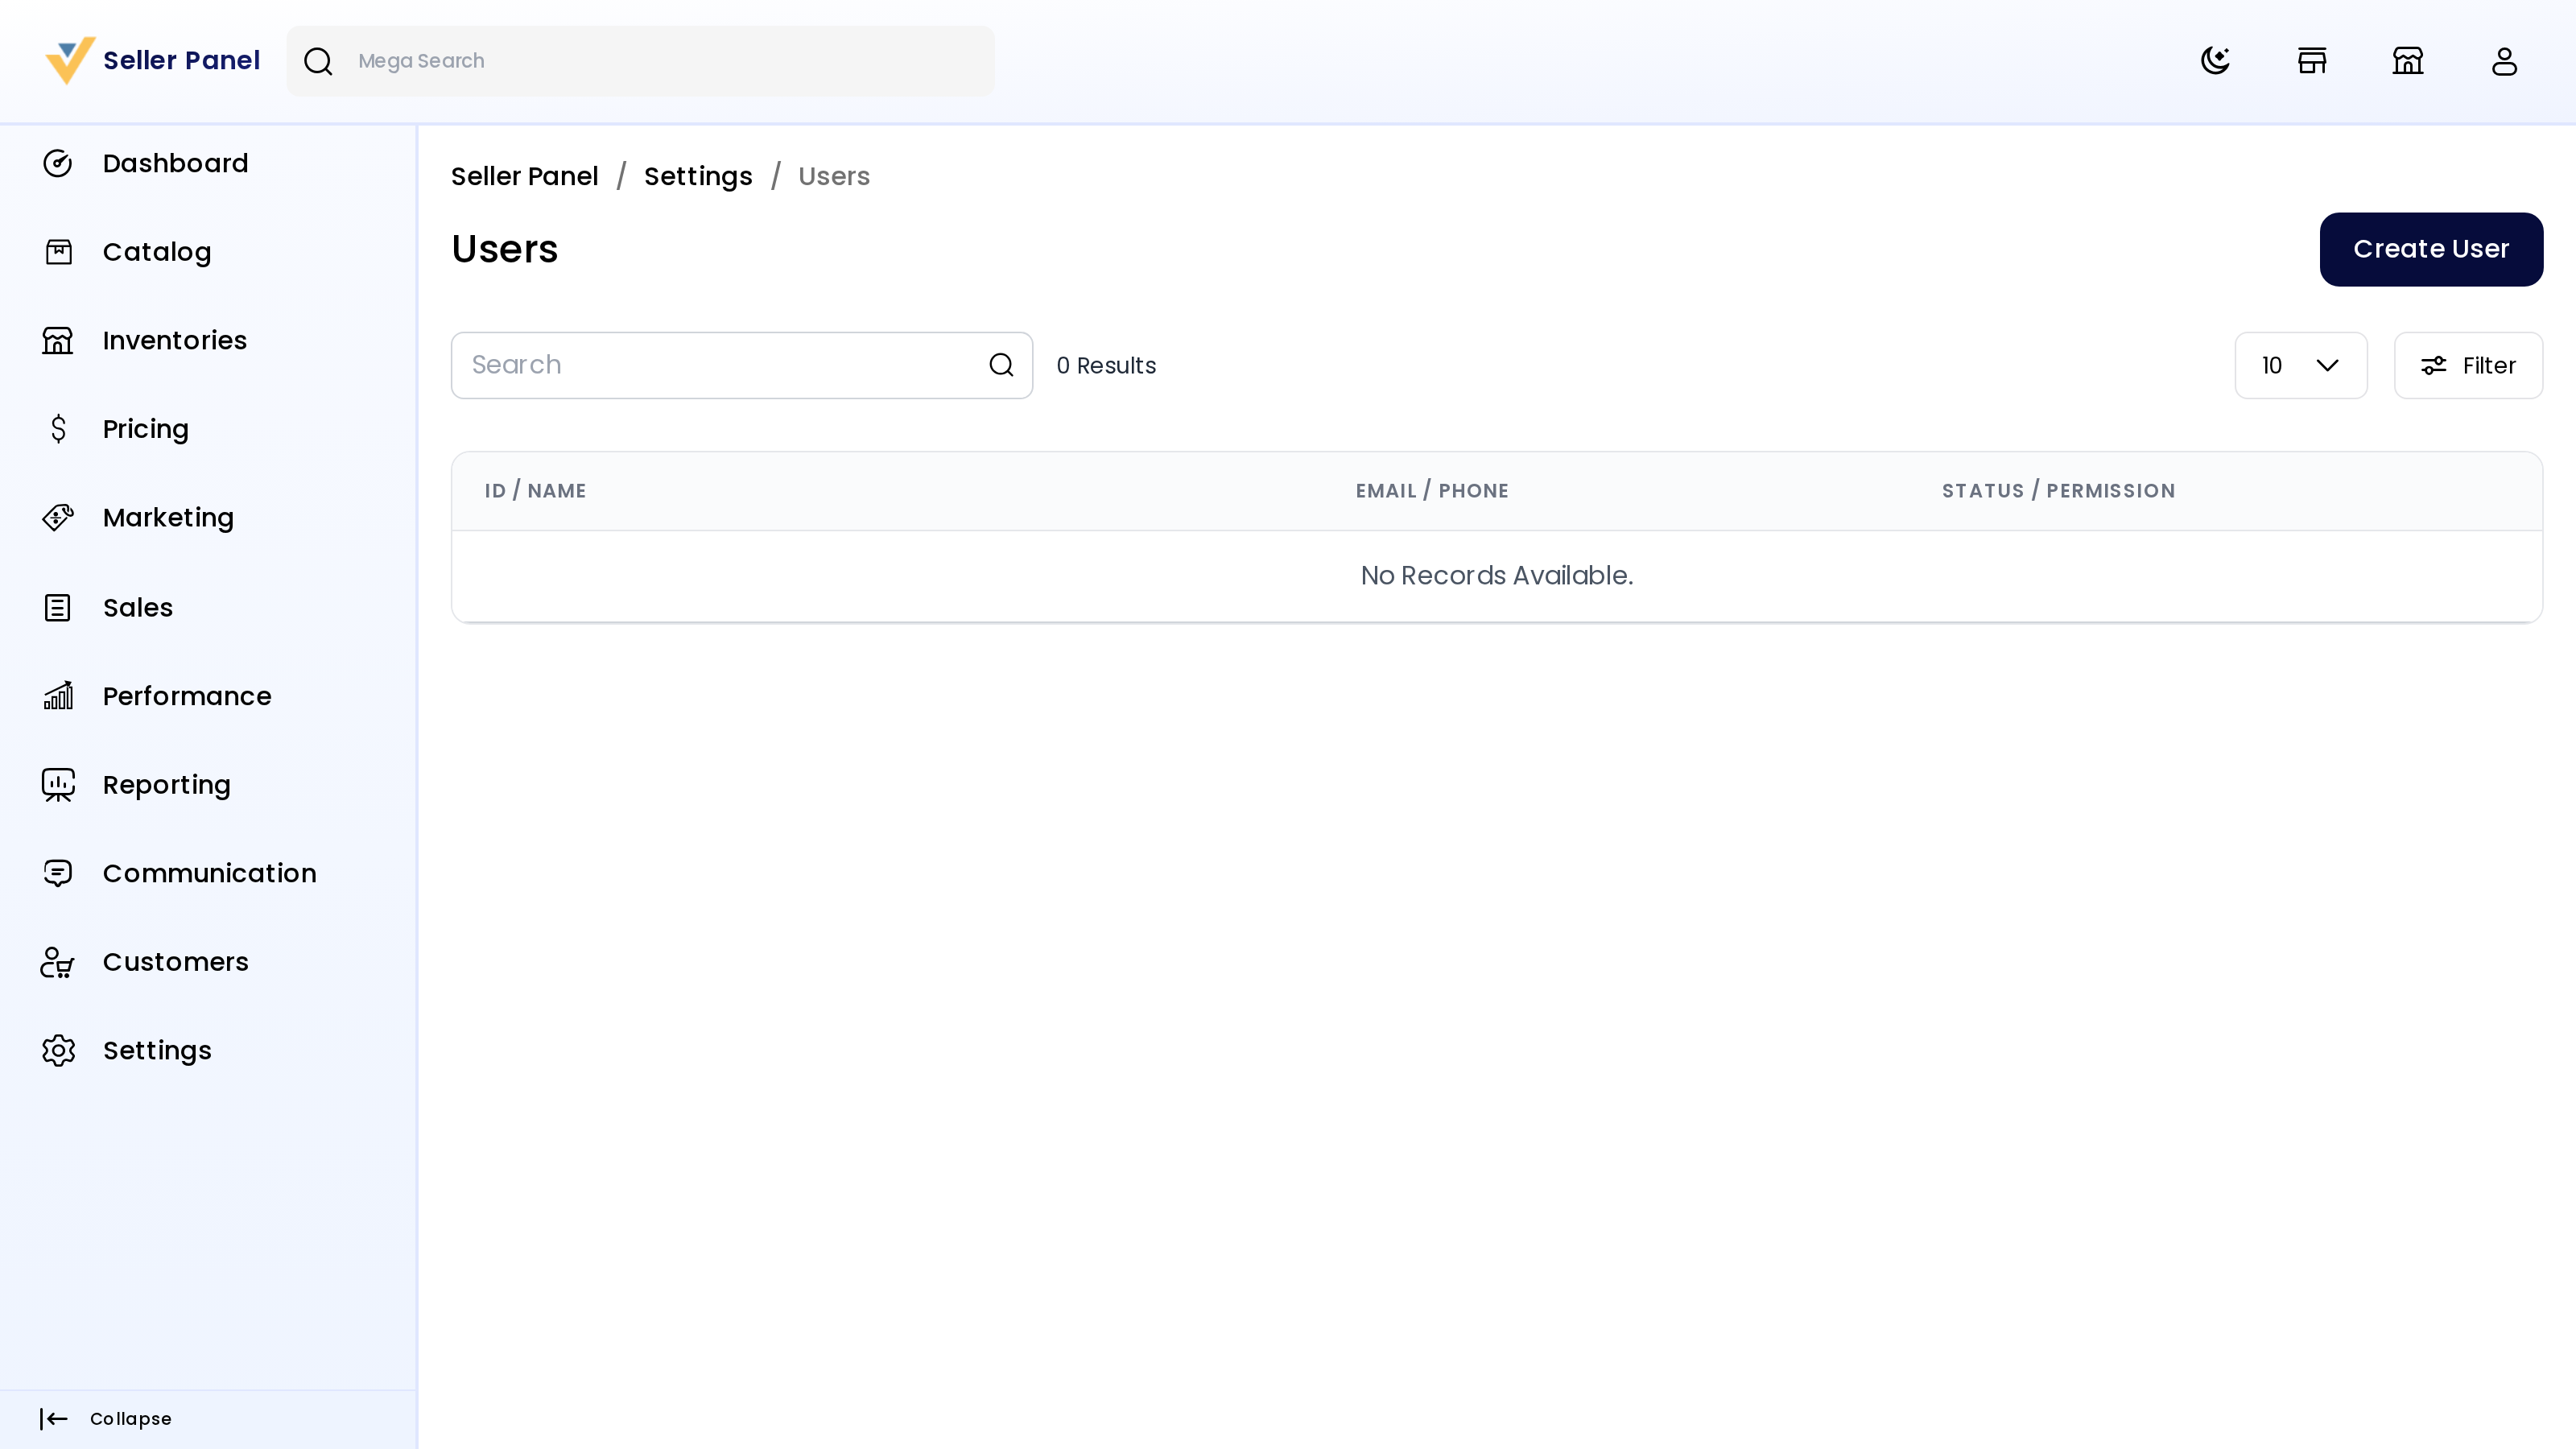
Open Settings → Users and choose Create User to add a team member — their name, email, phone, password, the role that governs their access, and a status (active or suspended). Each user signs in to the Seller Panel with the permissions their role allows.
Staff limits
If your marketplace uses subscription plans, your plan's Max Staff caps how many users you can add — you're stopped once you reach it. See Seller Subscriptions.
Account settings
Settings → General holds the seller's own account preferences — preferred language, password change, and whether to receive communication emails.
TIP
Create roles first, then assign them to users — it's far easier than setting permissions per person, and keeps access consistent as your team grows.