
Manage Inventory
Manage Inventory lets you update the stock of all your products on one screen, for each of your inventory sources, and save every change at once.
Go to Inventories >> Manage Inventory.
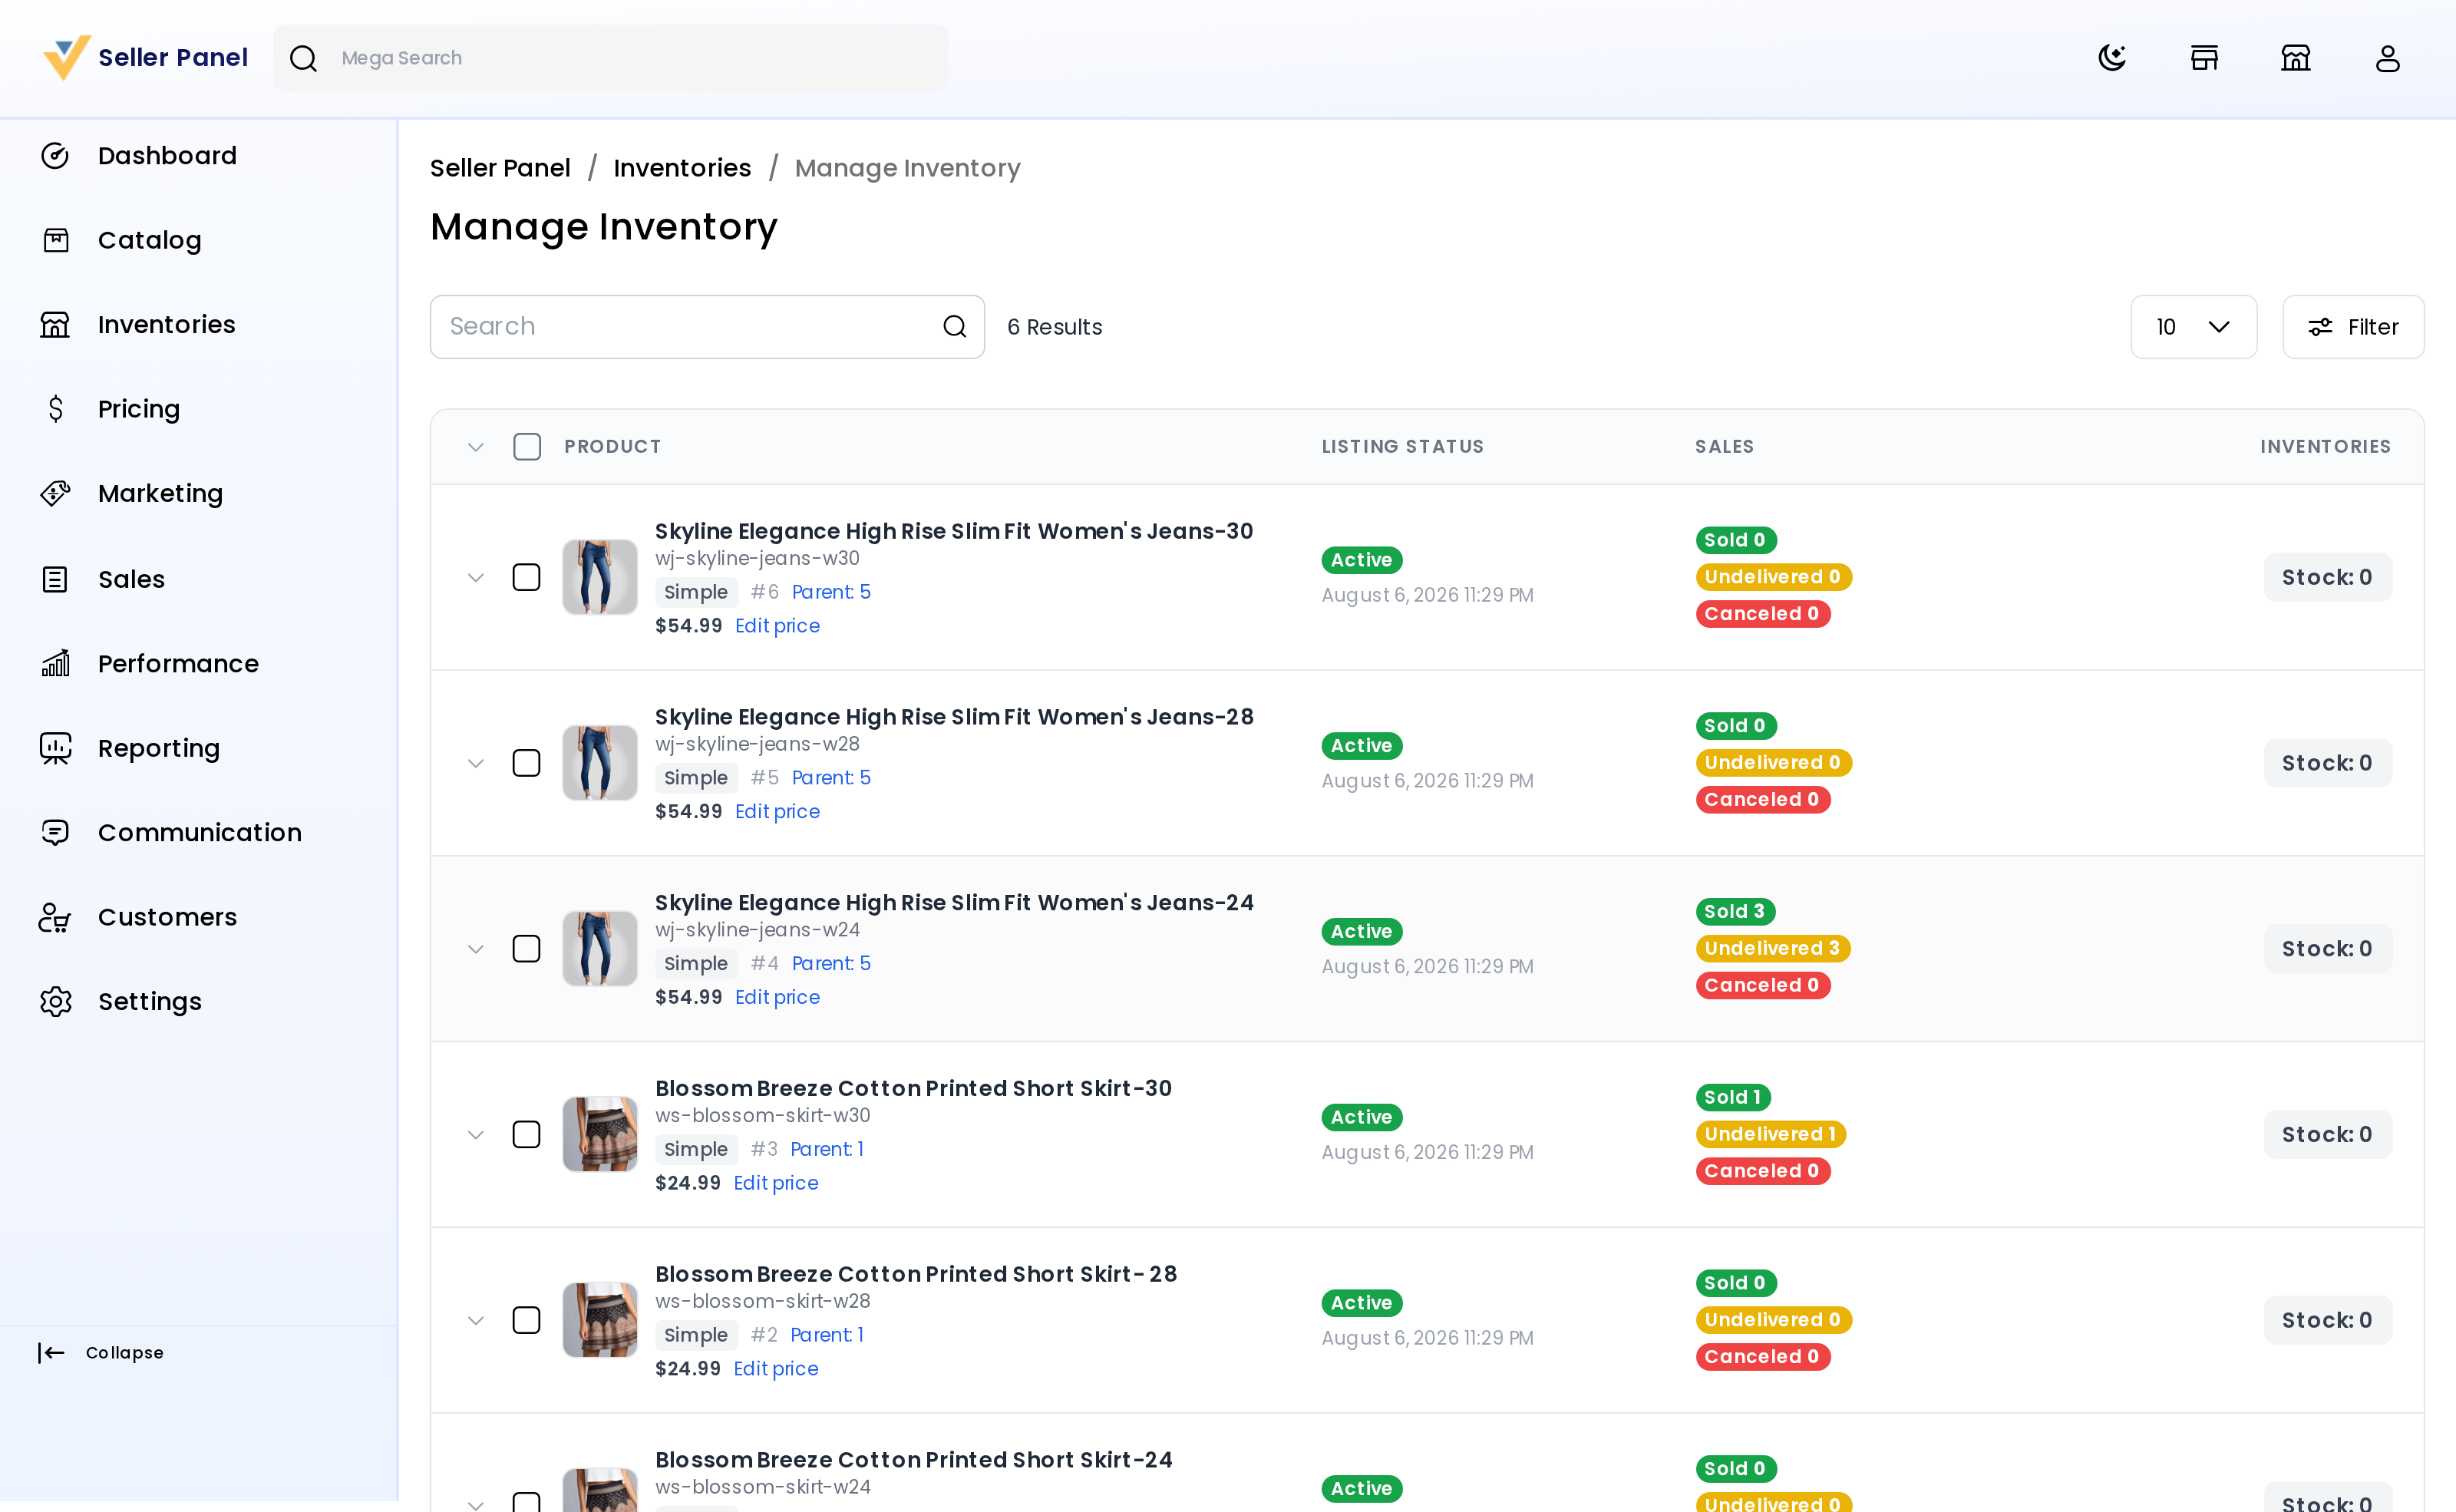
What the screen shows
The list includes your simple and virtual products, and each variant of a product with variations as its own row. It covers the products you created and the catalog products you sell as your own.
Each row shows:
- the image, name, SKU, type and ID, and for a variant a Parent link to the main product;
- the category and the price, with an Edit price link that opens Manage Pricing for that product;
- the Listing Status: Active when the product is on and approved, Unapproved when it is on but not yet approved, and Inactive when it is switched off;
- how many were Sold, how many are Undelivered and how many were Canceled;
- the total Stock, or Stock Not Managed when the product doesn't track stock.
Update the stock of a product
- Go to Inventories >> Manage Inventory.
- Click the arrow at the start of the product's row.
- Under Inventories, change the quantity for each source. Type a number or use the − and + buttons.
- Click Save Inventories in the bar at the bottom of the page.
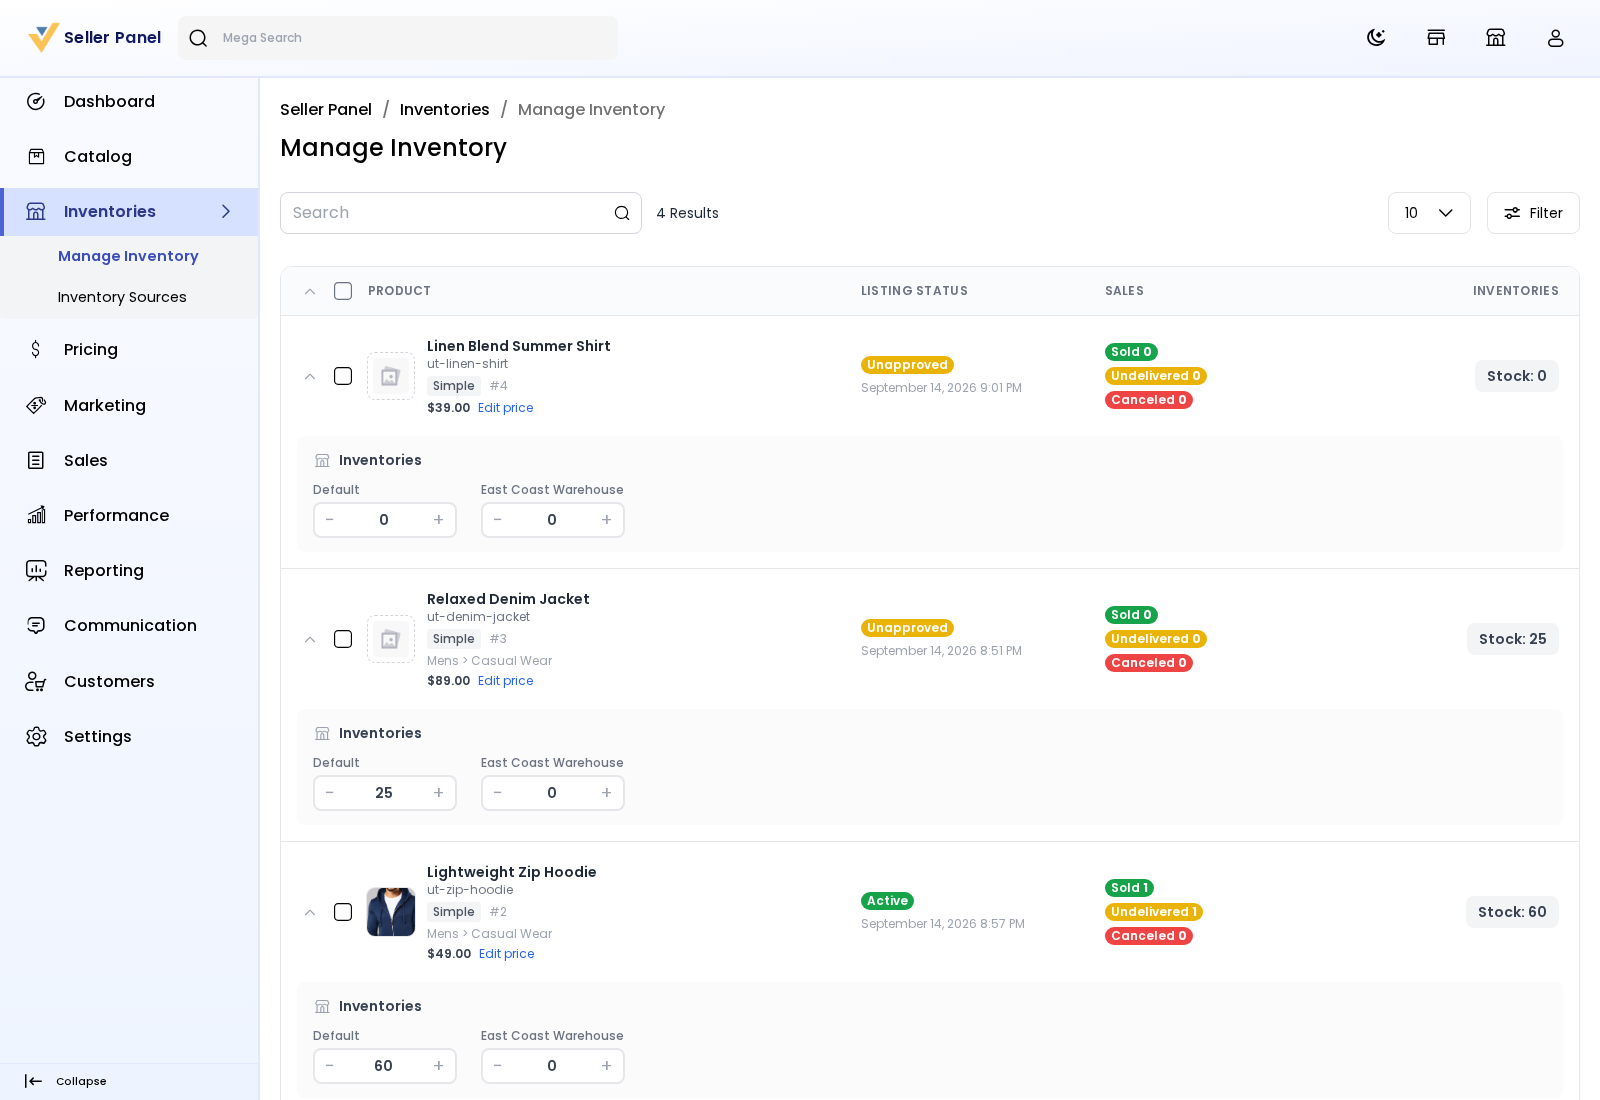
Changed quantities are highlighted, and the bar counts how many products you changed. Click Discard to undo them all. Your changes stay while you move between pages or search, but they are lost if you reload the page before saving.
You'll see Inventories saved successfully.
Update the stock of many products
- Tick the products.
- In Inventory Source, choose All Sources or one source.
- In Action, choose Set to, Increase by or Decrease by.
- Enter the Value.
- Click Apply.
- Click Save Inventories.
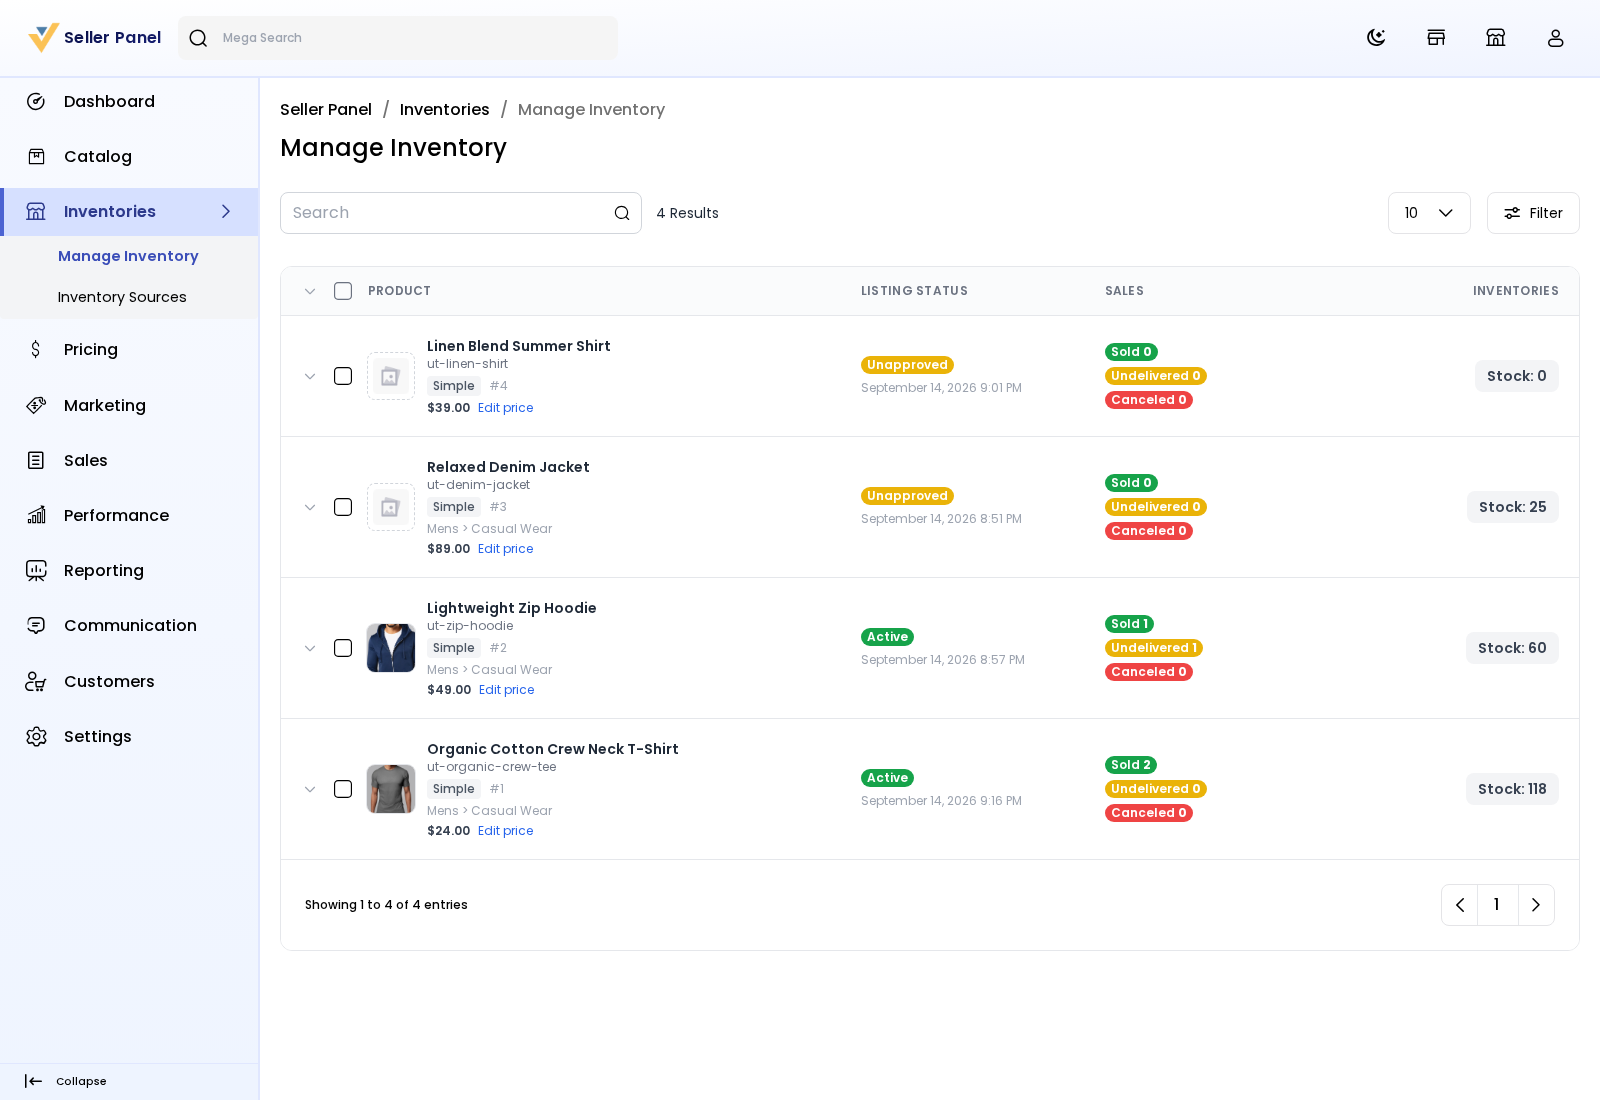
Apply changes only the ticked products on the current page, and stock never goes below 0. Nothing is saved until you click Save Inventories.
Switch products on or off
- Tick the products.
- Click Select Action, point to Update Status and click Active or Inactive.
You'll see Product status updated successfully.
Find products
Search by product name or SKU, or click Filter to narrow the list by Listing Status, Product, SKU, Category, Type or ID.
Low stock
Products at or below the store's low-stock level are listed under Products low on stock on your Dashboard.
Good to know
- A product that doesn't manage stock is always available, whatever the quantity.
- Every inventory source you have appears here, including inactive ones. Stock in an inactive source isn't available to customers.
- Team members need Manage Inventory, with Save Inventories to save and Update Status to switch products on or off.