
Users & Roles
Seller
A shop owner can add team members who sign in to the Seller Panel with their own email and password. A role decides what each team member can see and do.
Create a role first: a team member can't be added without one, and a new shop has no roles.
Create a role
- Go to Settings >> Roles.
- Click Create Role.
- In General, enter a Name and Description.
- In Access Control, choose the Permissions:
- All gives access to everything in the permission tree. Team members still can't open My Profile or Plans.
- Custom shows a permission tree. Tick what the role may use, or type in Search permissions to find an entry.
- Click Save Role.
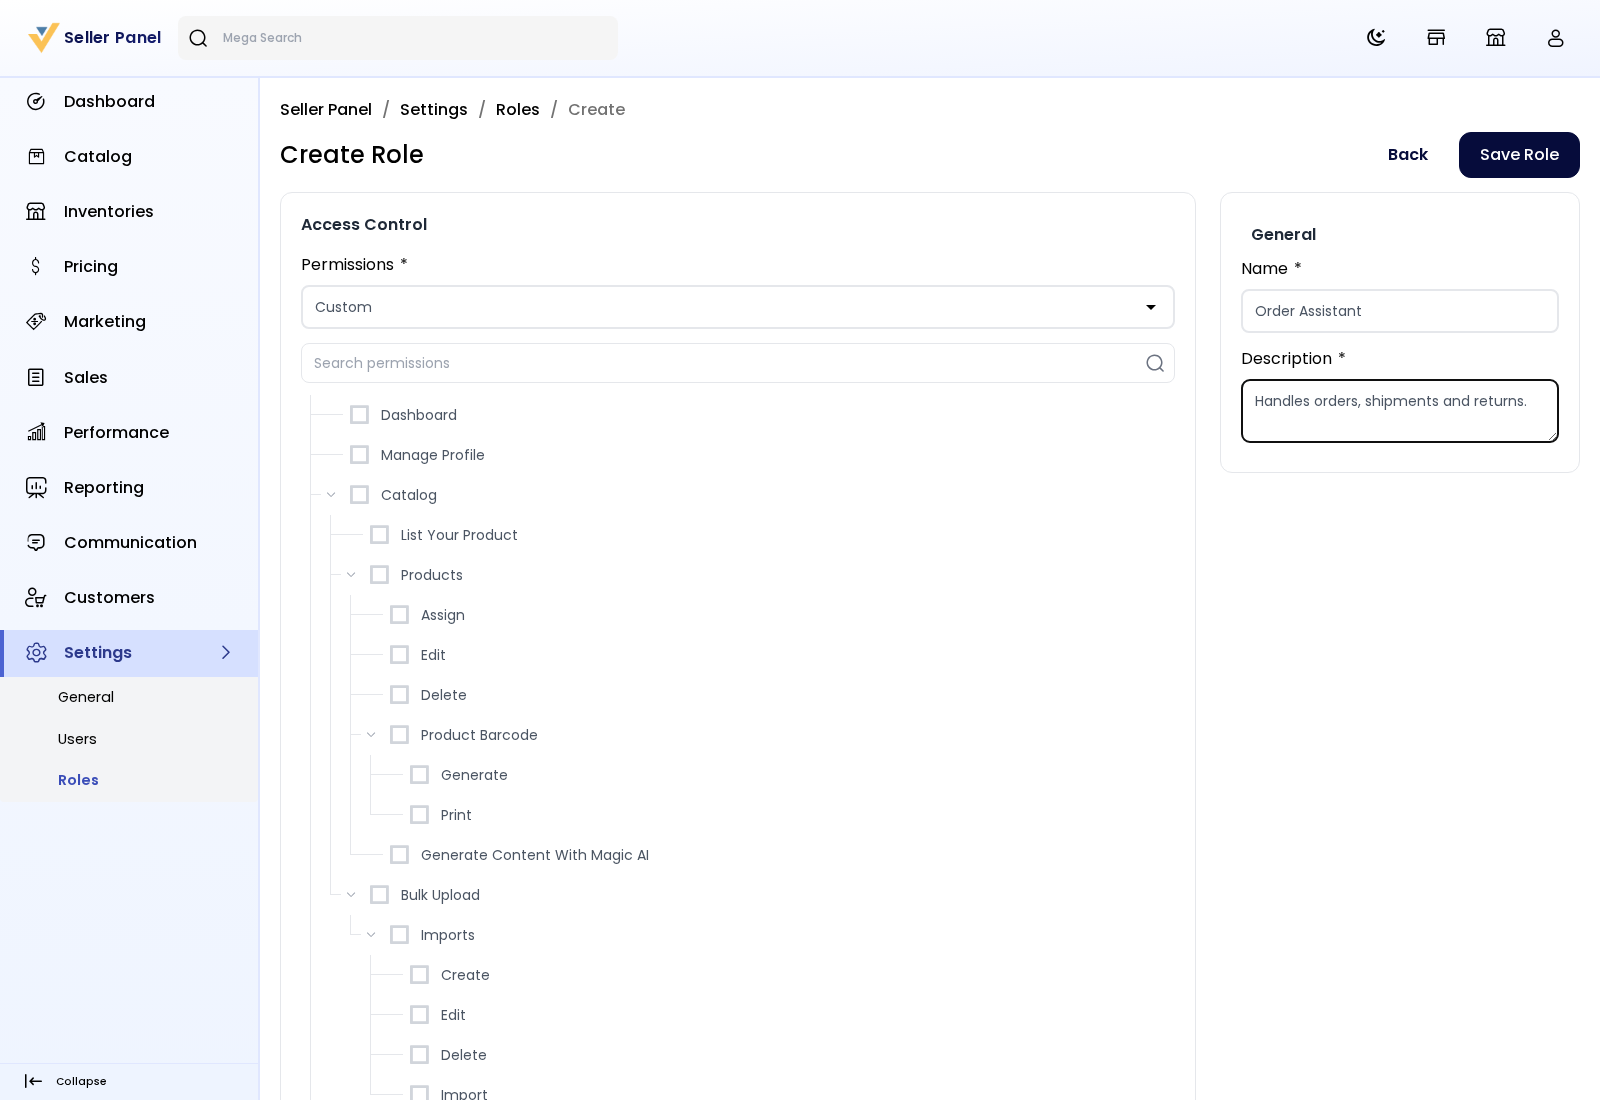
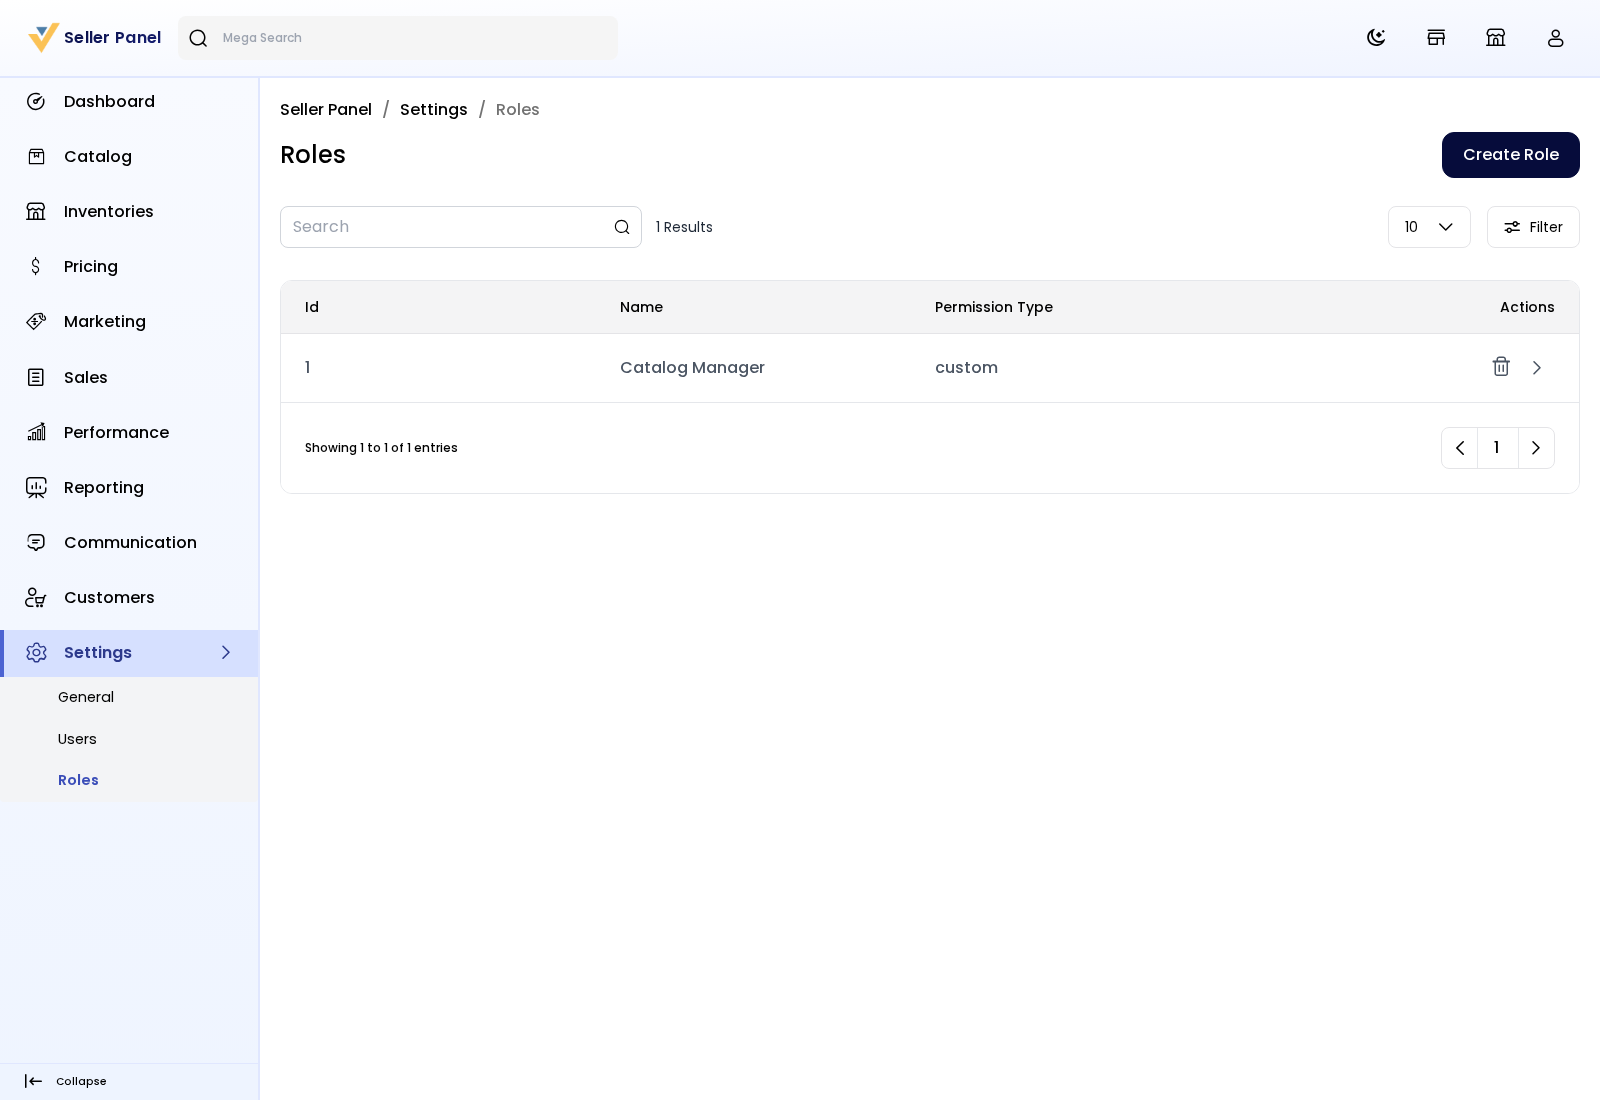
What the permission tree covers
| Section | Includes |
|---|---|
| Dashboard | The dashboard |
| Manage Profile | Nothing for team members, because only the shop owner can open My Profile |
| Catalog | List Your Product; Products, with Assign, Edit, Delete, Product Barcode (Generate and Print) and Generate Content With Magic AI; Bulk Upload, with Imports (Create, Edit, Delete and Import) |
| Inventories | Manage Inventory, with Update Status and Save Inventories; Inventory Sources, with Create, Edit and Delete |
| Pricing | Manage Pricing, with Save Prices |
| Marketing | Product Discounts, with Create, Edit, Delete and Join (View, Enroll and Withdraw) for the store's discounts; Checkout Deals, with Create, Edit, Copy, Delete and Coupons |
| Sales | Orders, with View, Cancel, Invoice, Print Invoice, Shipment and Payment Request; RMA, with View; Bookings; Transactions, with View and Print |
| Performance | Account Health, with Refresh Account Health; Seller Reviews; Product Reviews |
| Reporting | Sales, Customers, Products |
| Communication | Admin, Customers |
| Customers | The customers list |
| Settings | General; Users, with Create, Edit and Delete; Roles, with Create, Edit and Delete |
A Custom role needs at least one permission.
A role that a team member uses can't be deleted, and neither can your only role.
Add a team member
- Go to Settings >> Users.
- Click Create User.
- Enter the Name, Email and Phone Number.
- Enter a Password of at least 6 characters, and enter it again in Confirm Password.
- Choose a Role.
- Leave Status switched on so the account is active.
- Click Save User.
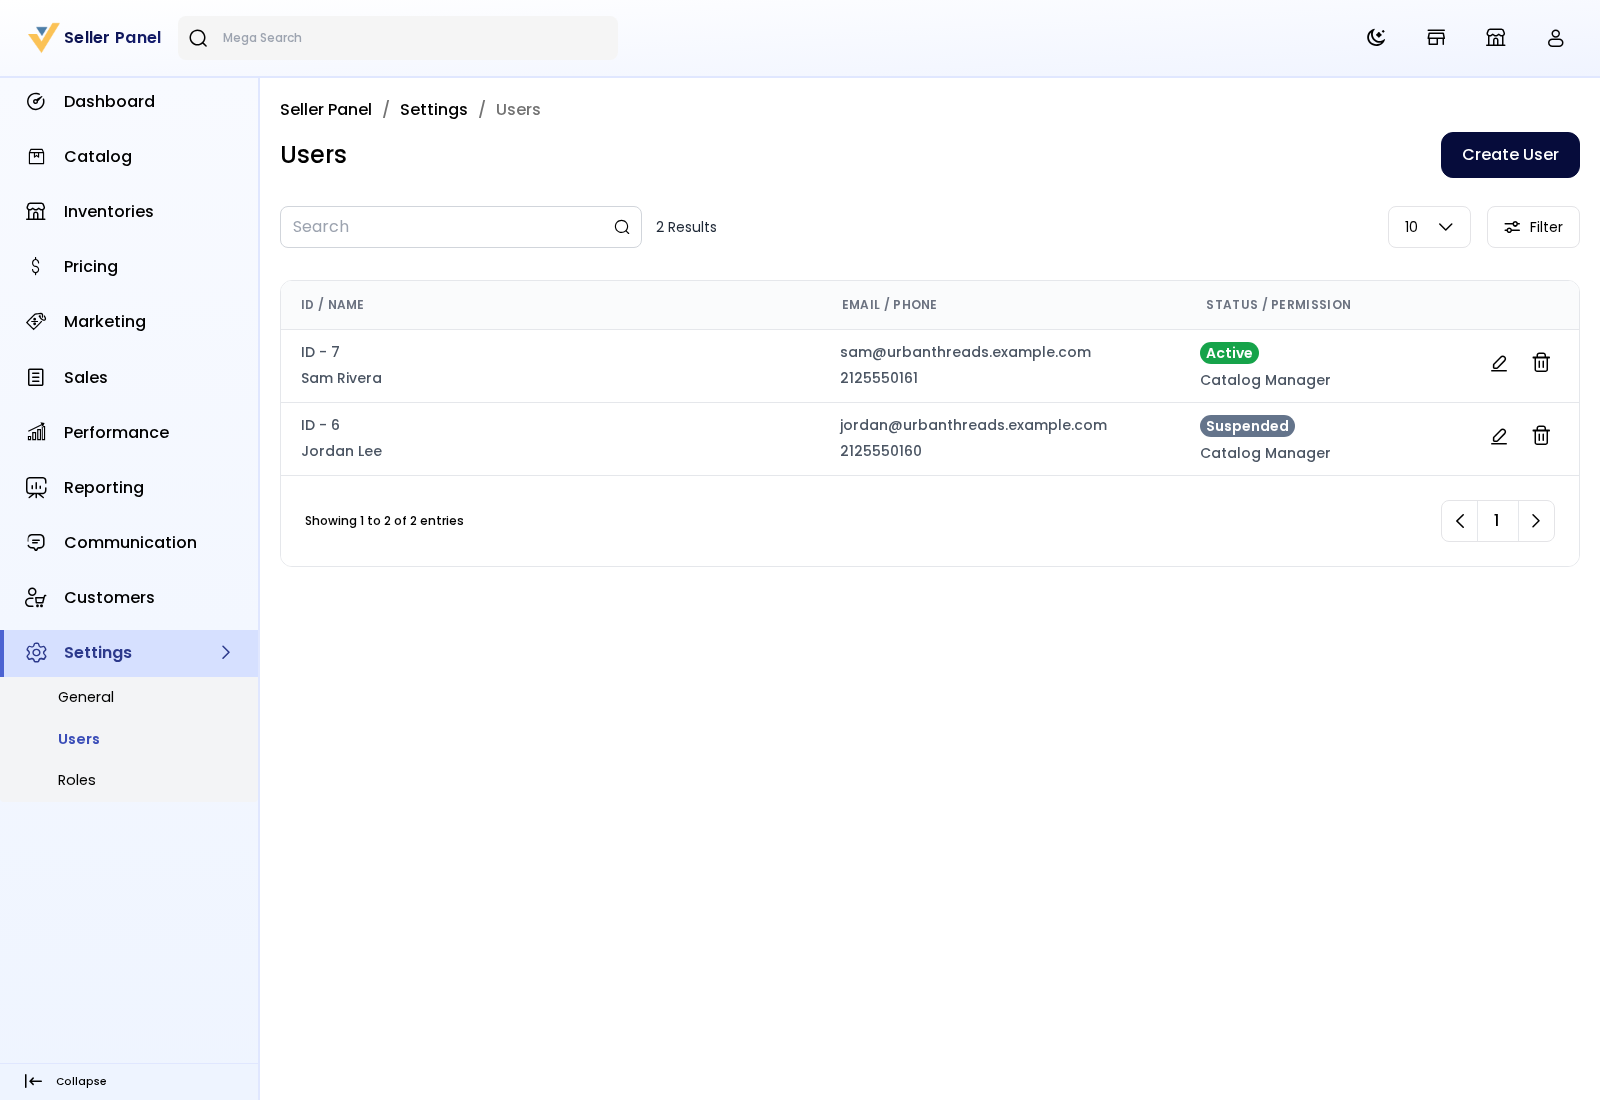
No invitation email is sent. Give the team member their email and password, and ask them to sign in on Seller Login. The email and phone number must not be used by any other seller or team member on the marketplace.
What team members can do
- They see only the menus their role allows. If their role includes Dashboard, they land on the dashboard. Otherwise they land on the first page they are allowed to open.
- They work with your shop's products, orders and customers.
- They can't open My Profile. Shop details are for the owner only.
- They can change their own password and language under Settings >> General, if their role allows it. See Account Settings.
Suspend or remove a team member
- To suspend, click the edit icon on their row, switch Status off and click Save User. They are signed out and can't sign in until you switch it back on. When you edit a team member, leave the password fields empty to keep their current password.
- To remove, click the delete icon on their row.
Subscription plans and team size
If the store uses subscription plans:
- Your plan's Max Staff limits how many team members you can add. Once you reach it, you'll see You have reached max limit of … Users.
- A team member can only use what both their role and your plan allow.
See Choosing a Plan.